
HELLO?
IT’S SWEETLY.
I was wondering if after all that browsing you’d want to subscribe? To my newsletter, with new recipes and exclusive deals.
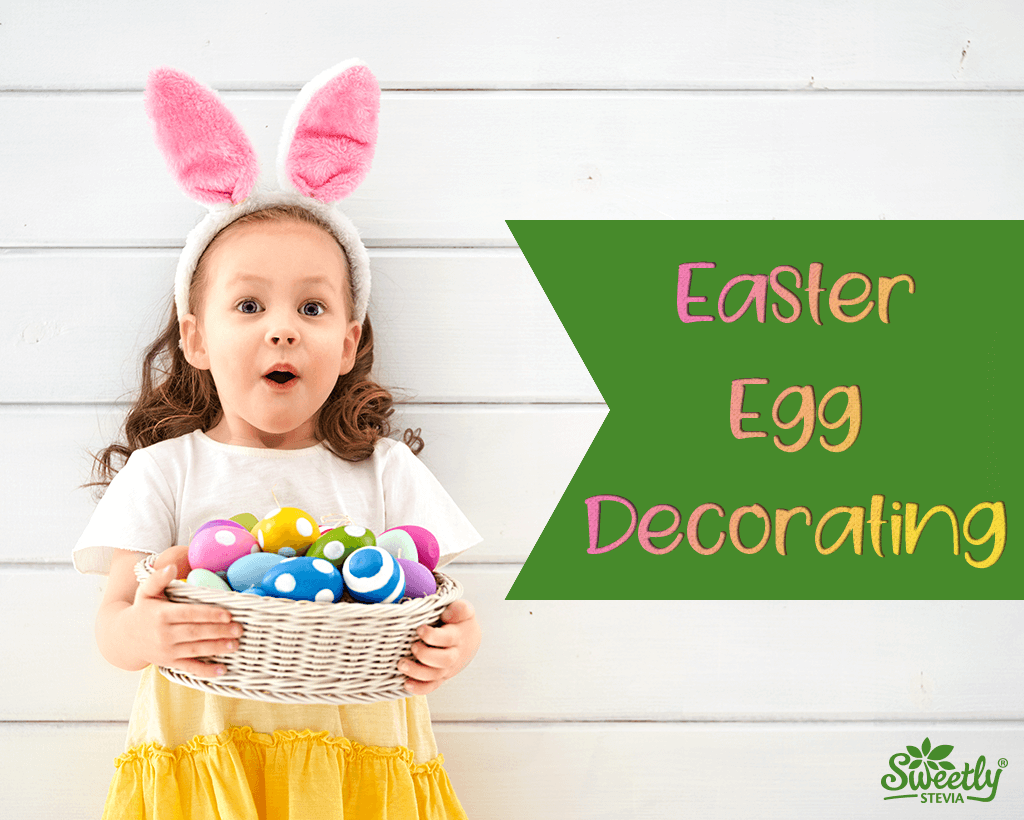
Your little bunnies have been spending the past few weeks at home driving you INSANE. You've hit all the mommy blogs and Pinterest boards for DIY arts and crafts to keep them busy, but those Energizer batteries last MUCH longer than you expected.
With Easter right around the corner, you're scrambling to find eggs at the grocery store so your little ones can have a somewhat normal Easter. Last year, you tried out the shaving cream technique for coloring the eggs, it turned out okay, and you had a lot of fun doing it, but things got messy, I mean REAL messy. And let's not forget about the years before that when you used the original colored tablet and oh-so stinky vinegar that's full of toxins. What if we told you there's a [mostly] mess-free and completely edible-friendly way of decorating Easter eggs?!
Would you believe us?
Similar to the 'ol clear crayon and tablet dye trick, we use vanilla icing and colored stevia to dye our eggs! You can of course pre-color your eggs instead of having the white base. So let's get to it!
This Easter Egg decorating method is perfect for using up the last of your white sugar before switching to a healthier reduced-sugar diet with Sweetly Stevia!
Here's what you're going to need:
Depending on if you want to pre-color your eggs using the dye kit, this project could potentially be broken up into two days. If you choose to pre-color your eggs you will need to allow them to fully dry before attempting to decorate them.
Your first step is going to be gathering plastic or glass bowls for mixing. You'll need one bowl for each color. Next up is adding about 1/4 cup of sugar to each bowl. Mix in 2-4 drops of food coloring using your fingers until the sugar is evenly coated. You can make your colors more vibrant or pale by adding more food coloring or more sugar. Have some fun and try mixing colors so you have more to work with!
Spoon out the icing into new cups or bowls, one for each child, and provide them with their paintbrush. You should also have paper plates handy to put under the eggs while decorating.
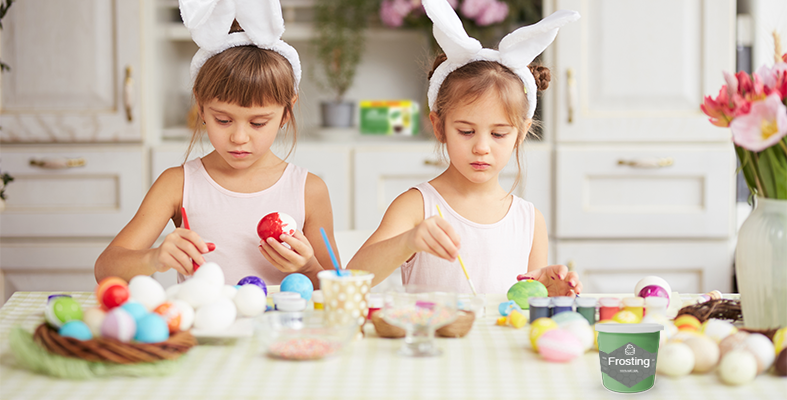
Using the paintbrush, dab it into the icing and use it to create a design on your egg. You can either dip the egg directly into the sugar or sprinkle the sugar onto the egg. The colored sugar will only stick to the areas of the egg that have icing on them. Because the icing may dry quickly, be sure to work with a little at a time
You can create multiple different designs, polka dots, lines, zig-zags, hearts, and with a finer paintbrush (and an adult) you could probably come up with some more elaborate designs! And if your kids just want to dump a bunch of sugar on their eggs and call it a night, so be it! You never know, it could be the next million-dollar art piece...
We all know kids LOVE putting things in their mouth, but with this fully edible method of decorating Easter eggs, you won't have to worry. This might be a different story however if you pre-colored your eggs, depending on what kind of dye you used.

Tips To Boost Your Energy, Avoid The Sugar Crash
If you've e...
October 20, 2020

Recipe Roundup: Sweet And Salty Recipes
Why is swee...
October 15, 2020

How To Find Our Products: Choose The Sweetly Way
We make all...
October 13, 2020

Fall Activities, Crafts, And 1 Tasty Treat
Are you pum...
October 06, 2020

If you've b...
September 29, 2020


