HELLO?
IT’S SWEETLY.
I was wondering if after all that browsing you’d want to subscribe? To my newsletter, with new recipes and exclusive deals.
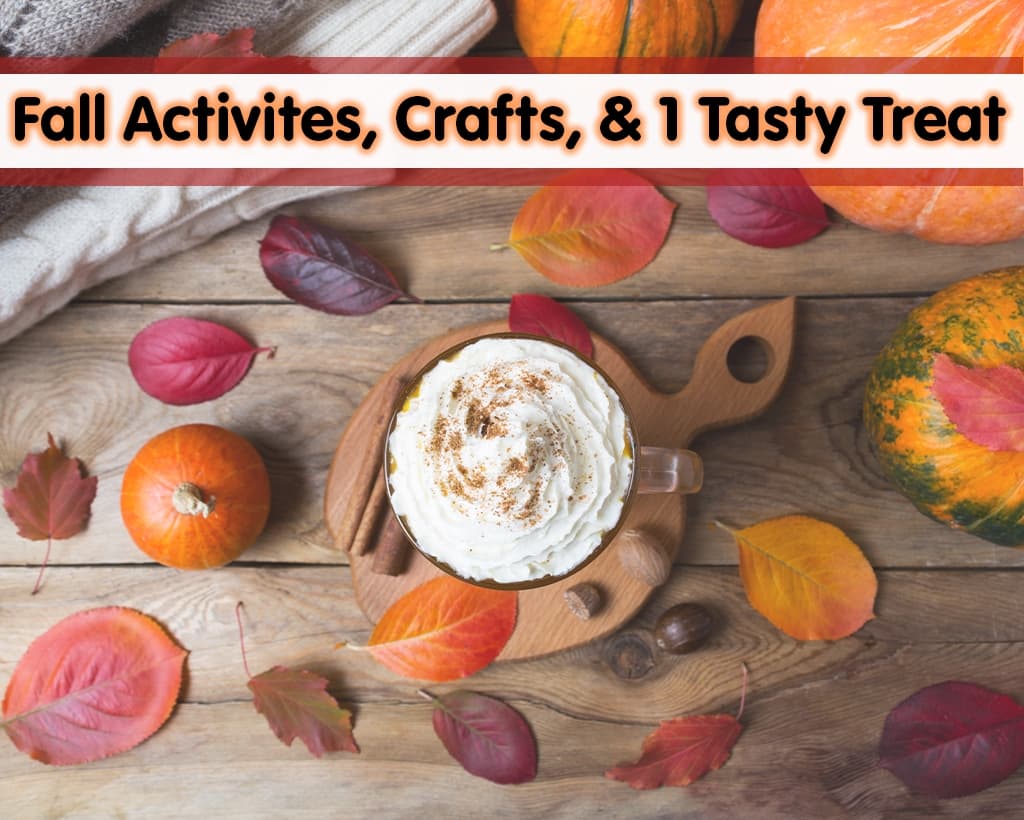
Are you pumped for pumpkin season? It happens virtually overnight. Around early October every year, pumpkins suddenly pop up… everywhere. From window displays to television commercials to your neighbor's front door, pumpkins appear without warning. They even show up, spicy and sweetened, in your morning coffee! Spooky!
The crisp scent of autumn in the air and the presence of pumpkins remind us of fond October-time memories. If you're anything like the Sweetly Stevia team, then you aren't going to want to miss out on this year's pumpkin-themed festivities. Hay rides through a pumpkin patch and eating warm pumpkin pie with the kids can add to the seasonal spirit, certainly, but our favorite activity this time of year happens to be making jack-o-lanterns.
This Halloween, think outside the box as you decorate your front door, porch, lawn, and home with all things pumpkin. While your kids might like to carve classically scary-looking pumpkins that grimace and glow--and seem to age gradually with almost human-like realism as they rot from the inside out--you can experiment with the more artful side of pumpkin decorating. We invite you to give pumpkin painting a whirl! Read on for inspirational ideas to help make your home pumpkin-ready in time for Halloween, and psst there's a tasty pumpkin-painting-reward recipe at the end of this article!
If you're looking for "artful" but aren't necessarily naturally artistic, then splatter paint pumpkins are right up your alley… and if you've also got kids, then you can't go wrong with this fun, pumpkin painting craft. You can even use blemished pumpkins and no one will know the difference when they see the final result. Start by picking out the colors you want to use. You could go totally Halloween-festive with black, orange, and white paint. Or you could get very creative with unexpected rainbow colors. It's all up to you. You can paint the entire pumpkins in a solid color of your choosing or leave it bare. The real fun comes next when you dip your brush into the first paint color and "flick", "splatter", and "dribble" the paint all over your pumpkins!
Personifying pumpkins is hilarious! There's nothing quite like animating in-animate objects, and painting expressive faces onto small pumpkins will be fun for the whole family, we promise! For this pumpkin decorating idea, you'll need a hot glue gun at the final stage when you're ready to "stack" your pumpkin people on top of one another. You can start by delicately tracing facial features on each pumpkin using a pencil. Try to think about the relationship these pumpkin characters have to one another. Could one be frowning at the other? Is the guy on the bottom squished? Is the littlest pumpkin on top the happiest? We recommend using paint pens instead of brushes and paint, because it'll give you far more control while painting. You can get colored yarn for hair and add black-felt hats. You can even make each pumpkin represent a member of your family with recognizable styles and accessories!
Depending on how ambitious you're feeling, you might be ready to upgrade from those paint brushes and give actual spray paint a try. We can't claim it's easy. But we will say it's very rewarding to master the art of the "ombre" when feather-blending one spray paint color into the next! If you love candy corn, you've probably eaten enough of it to know that each piece is cone-shaped, which means that you're first going to have to pick out pumpkins that are the right cone shape. Brace yourself, this is challenging. Once you have the perfect pumpkins, you'll want to pick out a canary-yellow-color spray paint and a classic white. The pumpkin siding itself is the right color "orange" of candy corn. With all your materials, work from the bottom up, first spray painting the yellow on. Be sure to feather the line around the middle. Then, from the top down, ombre in the white spray paint, and voila! Giant candy corn that won't cause an insulin spike!
Of course, our last pumpkin painting craft has "sugar" in its name! But you know us, we're all about sugar-free! Luckily, these Dia de los Muertos pumpkins--yes, that's Spanish for "Day of the Dead"--won't cause your blood sugar to rise! The traditional Day of the Dead holiday begins at midnight on October 31st, but you can paint these iconic and brightly colored "skulls" weeks in advance. This decorating activity is quite advanced and you'll want to first find the perfect stencils to use to guide you. Paint pens will provide far more precision than brushes, so we recommend you use those instead. When designing your sugar skull pattern, you'll want to think about using bright accent colors that will contrast boldly with the black and white skull motifs. These are a combination of artistic, stylish, and spooky!
Before you dive into the arts & crafts project of painting your pumpkins to adorn your home, you're going to want to select the best pumpkins you can get your hands on and turn them into ideal canvases. Be sure to follow these steps:
Yay! If you made it this far, then you've picked out a pumpkin painting design, bought supplies, or even gotten through painting your first pumpkin. Congrats! It's time to reward yourself with a delicious, pumpkin-spiced dessert! Best of all, this Halloween recipe doesn't call for table sugar… or an oven!
Packed with zero-calorie sweetness that only Sweetly Stevia can provide, our Keto Pumpkin Mouse can be ready-to-eat in under 10 minutes!
Ingredients:
½ cup heavy cream
2 teaspoons pumpkin pie spice
¼ cup powdered Stevia
8 ounces cream cheese
⅓ cup pumpkin puree
1 teaspoon vanilla extract, or to taste
Directions:
In a bowl beat the cream cheese, Powdered Sweetly Stevia, pumpkin, pumpkin pie spice, and vanilla extract to a bowl, set aside
In a separate bowl, add the heavy cream and beat until stiff peaks form
Fold the whipped cream into the pumpkin mixture until combined
Garnish with granola, optional
Enjoy!
Be sure to check out our full Recipe section on this website for the best no-sugar-added desserts, dinners, cocktails, and snacks, all made with our all-natural, zero-calorie sweetener, Sweetly Stevia!

Tips To Boost Your Energy, Avoid The Sugar Crash
If you've e...
October 20, 2020

Recipe Roundup: Sweet And Salty Recipes
Why is swee...
October 15, 2020

How To Find Our Products: Choose The Sweetly Way
We make all...
October 13, 2020

Fall Activities, Crafts, And 1 Tasty Treat
Are you pum...
October 06, 2020

If you've b...
September 29, 2020